- additor and xpedeo help
- Additor
- This is how it works
- Detail area
- Entries
- Create and edit entries
- Text
Text with formatting, lists, tables, etc.
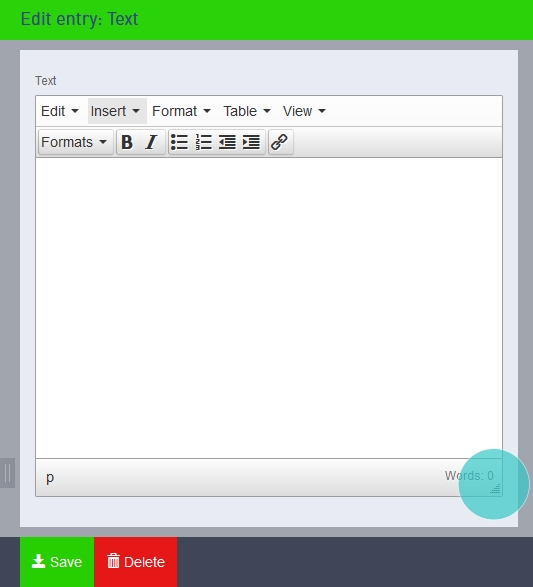
At the lower right corner, you can drag the text entry window into a size that is comfortable for you.
You can type texts directly into the text input field or insert existing texts with "Copy & Paste". When copying / pasting, please take note of the formatting of texts.
There are several submenus available in the menu line, if available, there are also shortcuts.
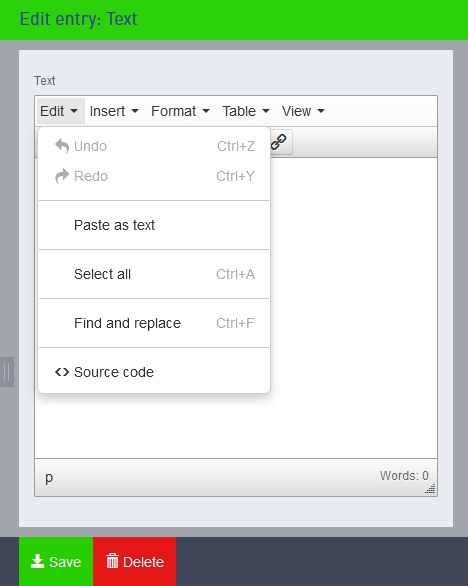
Editing
Undo / repeat: Here you can undo actions or restore undoed.
Insert as text: If you want to copy texts into the text field, you may occasionally copy the formatting. This can lead to unwanted text designations. To avoid this, you can either use the keyboard shortcut Ctrl + Shift + V instead of the keyboard shortcut Ctrl + V. Or choose "Insert As Text" from the edit menu of the text box. Please note: this setting remains active until you switch it off again!
Alternatively, you can remove the formatting afterwards (under "Format" / "Remove formatting").
Find and Replace: with this tool, you can change the spelling of a word conveniently throughout the text. Select whether you want to be case-sensitive, whether only entire words are to be recorded, and whether the replacement should be made only once or in the entire document. Use "Back" and "Next" to move within the search results.
Source code: Here you can see the source text of the contents of the text field.
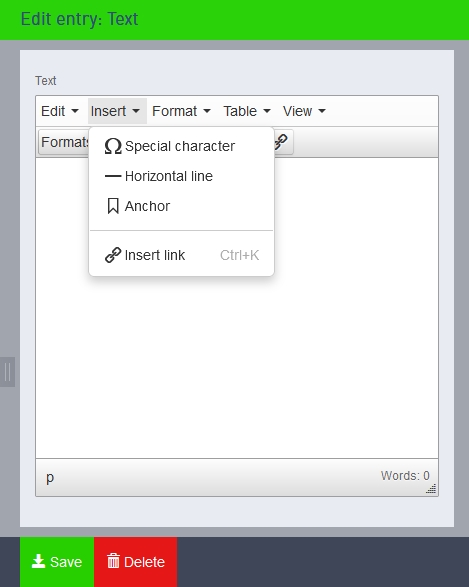
Insert
Special characters: Here you can choose from a selection of special characters.
Horizontal Line: Use this command to insert a horizontal line.
Anchor: Use this tool to insert an anchor and give it a name. You can then link to this anchor elsewhere in the text. Please note: this works only within a text entry, they can not refer to anchors in other texts.
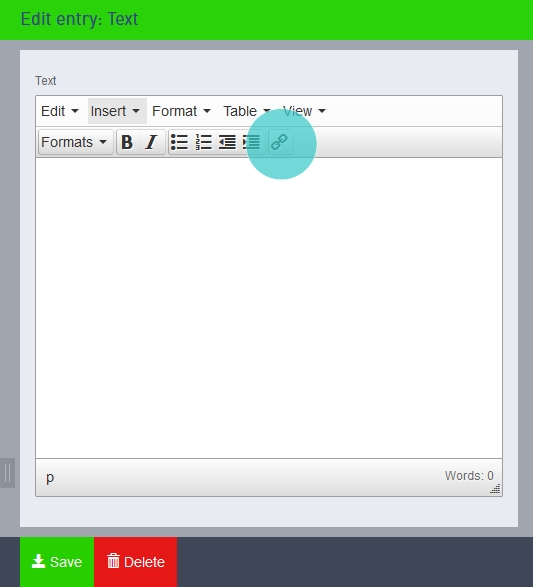
Insert Link: Here you can insert a link. The user will be redirected to a page you specify or to a specific anchor in the text. This command also has a corresponding quick access in the toolbar (second line, far right).
In the dialog box, you can enter the URL or use the file search icon to access and select an overview of the pages in the additor® (and their sections). If you click "[...]" after the page name, you can link directly to a specific section of the page.
An e-mail can be linked by simply specifying the e-mail address at the URL. Additor recognizes the address and offers to "mailto:" advance so that the browsers automatically open the local e-mail program to send an e-mail to this address.
In the "Title" field, you specify the text that should appear when the user moves with the mouse pointer over the link.
In the "Anchors" drop-down menu, you can select from the text marks of the text.
At the bottom of the dialog box ("Target"), you can specify whether or not to open the link in a new window.
Format
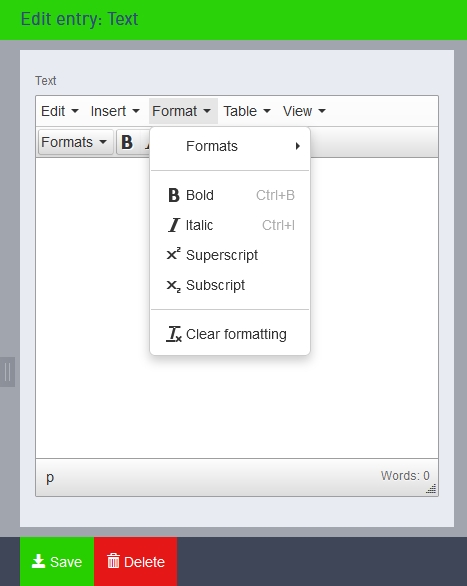
Formats: Choose from the following sub-items:
- Headings: There are three types of headings available. The use of headings can be helpful in search engine optimization.
- HTML5: Choose between "article", "blockquote" and "aside". "Blockquote" formats the text according to the predefined rules for a quotation.
- Alignment: Specify whether your text should be right or left-aligned or centered.
- Bold / Italic / Up / Down: Set the layout of the typography.
- Remove formatting: With this tool, you can completely remove the formatting of the text.
Table
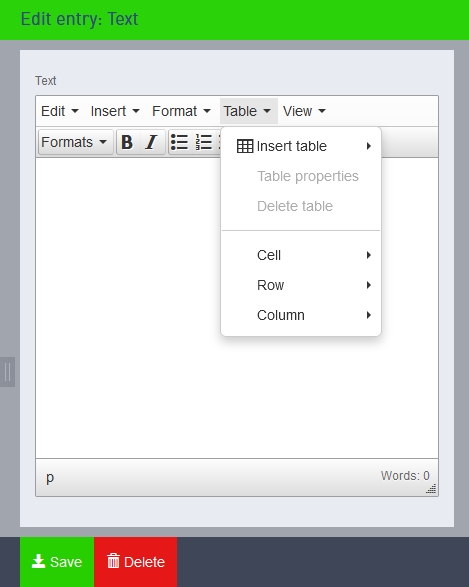
Insert table: Here you can insert tables in any number of column and row grids. To do this, drag the mouse pointer over the graphic until you have selected the desired number of rows and columns. Click on the grid field to insert the table.
Table properties: Once you have selected the number of columns and rows, you can enter the width, height, spacing, frame thickness, labelling and alignment manually. Percentage values can also be entered (e.g. 15%). You can change the style settings in the advanced options.
Delete table: Command to remove a created table.
Cell/ Row/ Column: In these sub-items, you can carry out editing steps for individual table elements such as copying, deleting and inserting, joining or splitting cells or editing the properties of individual elements. For example, you can enter the dimensions of the individual table elements - this is also possible as a percentage value; in this case, simply place a percentage sign after the desired value.
You can set different style or colour specifications here and specify which elements should be headers or footers. See also: Creating headings in tables.
You can find more information on using tables in text fields here .
View
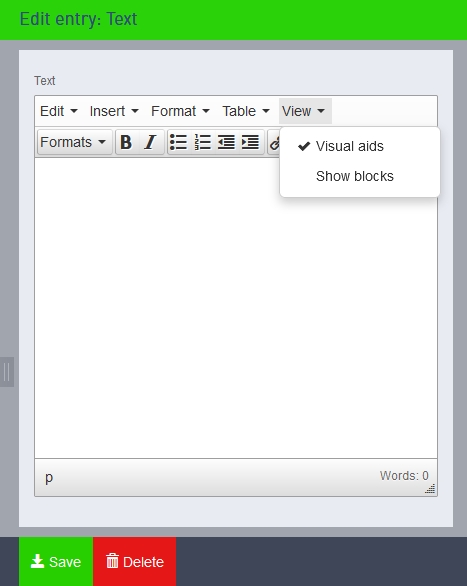
If you select "Show blocks", you can identify unnecessary blank spaces and delete them if necessary.
With "Visual Aids" the grid preview can be switched on and off.
MULTI LANGUAGE: This entry is language-dependent, i.e. it is transferred to the secondary language(s), but without content.